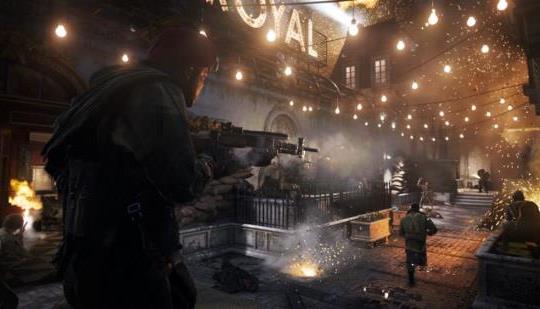
Playing Call of Duty: Vanguard campaign mode is a great way to experience the game and unlock some of the weapons more quickly too. You can find this option in the main menu or by going to the Campaign tab.
We’ve got a walkthrough for you on how long this mode takes from start to finish, spoilers included! We’ll take you through each chapter of this nine missions campaign mode – from beginning to end. You’ll see that it’s not that long at all, with each chapter taking roughly forty-five minutes to an hour depending on how often you die and how fast you’re able to react under pressure. Here’s the complete list of the nine missions of this mode.


- Phoenix
- Operation Ronga
- The Lion’s Den
- Stalingrad
- The Battle of Midway
- Numa Numa Trail
- Lady Nightingale
- The Rats of Tobruk
- The battle of El Alamein
- The Fourth Reich
Story
The story will take you through a full tour of all of the Vanguard’s various creations. As you read the story, you’ll go to various points in time with specific characters. You can also view how these events would have unfolded if they’d been set differently, which is actually fun to do! No spoilers for this section though. This is an overview of all seven chapters and what’s in each one.
“Playing Call of Duty: Vanguard campaign mode is a great way to experience the game and unlock some of the weapons more quickly too. You can find this option in the main menu or by going to the Campaign tab.”
However, before we go into all seven chapters, let’s go over some things that are common across the entire mode. We’ll skip over the entire story and just focus on some of the important things to understand and keep in mind for this mode.
Things to Keep in Mind
The default command is for you to hold the left stick forward and press X, B, or A. This will make you sprint. You can change this if you want to though, as there are some options for it within the game’s settings (the Settings option is found on top of your main menu). We can’t tell you which one we prefer only because it all depends on what feels better for each person. Just remember that if you change it once, make sure that you change it throughout the entire mode.
There are a lot of guns in the mode and you’ll be able to find them throughout. So make sure to take a look around and see what you find! We didn’t mention every gun, but we really hope you found all of them. If you found something that’s not listed below, feel free to let us know!
Throughout these seven chapters, you’ll have access to four different classes. The first one is just for your character. You can unlock more once you earn a certain number of stars. Also, some of the chapters will ask you to use a specific class. We’re going to tell you which chapters have a specific one, just in case you want to follow along with us.
This mode doesn’t really have too many collectibles, items or objects for you to find, but there are still a few things that will get your attention. In order for you to find all of these things, we highly recommend that you search around each area thoroughly before moving on from it.
“Documents” are the most important ones that you absolutely must find. You can find these in pretty much every chapter, but it’s hard to remember the exact name of the chapter without looking at your achievements list. So instead, we’re going to list all of them so you can go through and look for them as you go through this mode.
“The default command is for you to hold the left stick forward and press X, B, or A. This will make you sprint. You can change this if you want to though, as there are some options for it within the game’s settings (the Settings option is found on top of your main menu).”
The “PDA” is located in Chapter 3, “Aperture Science.” You’ll find it on a desk by a computer in an office. It’s not listed as a collectible anywhere – just search for “PDA.doc”.
The “Lemming” can be found in Chapter 4, “Heaven Can Wait.” You’ll find it on a desk in a room that’s located to the right of where you start (the place where you meet the two scientists and the robot sidekick). It’s very hard to miss because of how it’s placed on that desk, but we still want to make sure you don’t forget about it.
The “Lockbox” is found in Chapter 6, “Breaking Point.” It will be seen on a table not far from where you start this chapter. You should really remember this one because of how bright it is. You have to bring up your weapons menu and open the lockbox, then find the nearby keycard in case you do need it later.
The “Kevlar Vest” is located in Chapter 7, “The Devil’s Carnival.” You’ll find it in a room that’s near where you start this chapter. It is on the floor by a desk with a laptop on it.
The “Cow-Collar” is found in the last chapter, “Endgame.” When you get off of a bus and make it through a gate with a bunch of guards around, look across the street to see two small cars with big red lights on them. They are located by a tree. If you manage to find them all, consider yourself a part of our Vanguard Squad. How long was the campaign mode of Call of Duty: Vanguard? Was it longer than you thought? Or was it shorter?